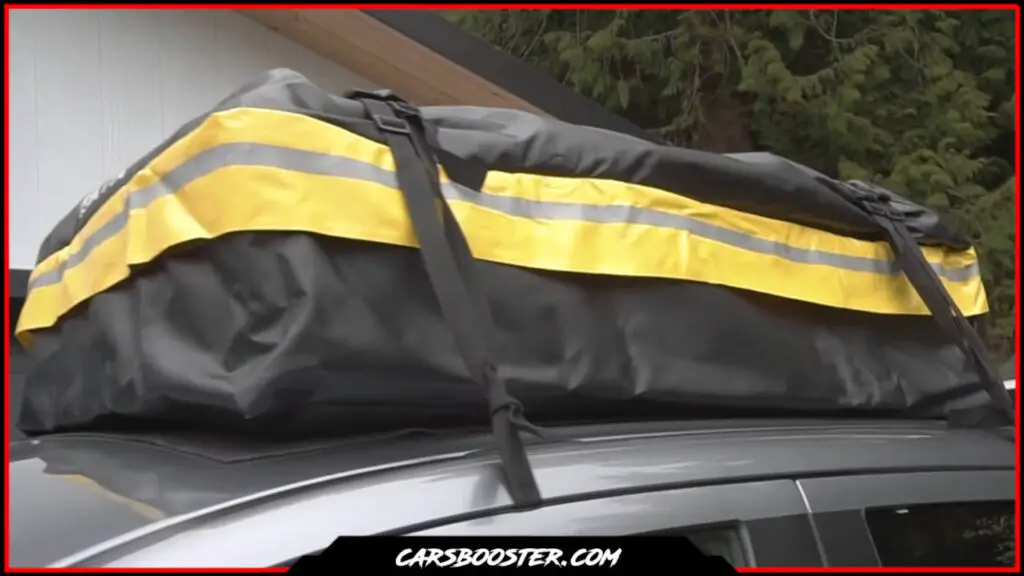
Roof bags are one of the popular car roof storage options for people who are tired of cramming all the gear into an already cramped car, leaving no room for passengers.
In this article, we explain how to install a roof bag on top of your vehicle with an easy and informative step-by-step guide.
At the end of this article, you should be prepared and ready to probably install a roof bag on top of your vehicle.
What Materials Needed for Installing a Roof Bag?
When it comes to installing roof bags, it’s important to have all the right materials and tools on hand. You’ll need some straps to secure the bag to your roof. These straps are like the duct tape of the roof bag world, they hold everything together.
Next up is a ladder, in addition to a flashlight or headlamp so you can see what you’re doing up there on the roof in case you decided to install a roof bag at nighttime.
Now, you might be thinking to yourself, “I have a roof rack, I don’t need straps or a ladder” well my friend, you are wrong. You’ll still need straps to secure the bag to the roof rack, and you’ll still need a ladder to reach the roof in the first place.
Nonetheless, if you don’t have a roof rack, you need to get creative installing roof bag to your car probably so it doesn’t go out flying while you are on the highway.
One thing worth mentioning is that if you install a roof bag without a roof rack you need to be extra careful in case you have an existing panoramic or sunroof since it might damage it.
Finally, you’ll want to have a measuring tape on hand. This is essential for making sure the roof bag you purchase is the right size for your vehicle, furthermore so you can center your roof bag on the roof of your vehicle.
How to Install a Roof Bag?
If you ask yourself how to Install roof cargo bags, the answer might seem daunting, but with the right tools we mentioned earlier and a step-by-step approach we will be covering next, it should become a straightforward process.
Gathering All The Materials And Preparing The Roof
Before starting our how to install roof bag step-by-step guide you would need to gather all the materials and tools needed for the installation, this includes the roof bag, straps, ladder, measuring tape, and a flashlight or headlamp.
Once you have everything ready, you can begin by preparing the roof, this includes cleaning the roof and measuring the size of the bag so you can locate the proper location for installation.
Attaching The Straps To The Roof Bag
Now you can begin attaching the straps to the roof bag. It’s important to ensure that the straps are securely fastened to the bag to avoid any accidents while driving.
Additionally, you’ll need to attach the straps to the roof of your car, making sure they are tight and secure. This will ensure that the bag stays in place while driving, and doesn’t wobble or detach from your roof while driving at high speed.
Placing The Roof Bag On The Roof
Once the straps are securely fastened, it’s time to place the roof bag on the roof. we should mention that it’s important to ensure that the bag is properly aligned and centered on the roof.
Moreover, you’ll want to make sure the weight is evenly distributed on the bag to avoid any damage or accidents, as bad weight distribution on the roof can affect the driving dynamics of the car.
Double Checking
Finally, you’ll want to double-check that everything is secure and properly aligned before you start driving, which includes checking that the straps are tight and secured to your bag and to your vehicle.
Furthermore, we recommend regularly checking the bag and the straps during your journey to make sure everything is still secure.
If you still need some help installing a roof bag, check the next video
Conclusion
One point worth mentioning is if you are heading on a long road trip with high-speed driving we think that a roof bag won’t give you the best experience, nevertheless, a roof box might do a better job as it’s more convenient at higher speeds and long journeys.


