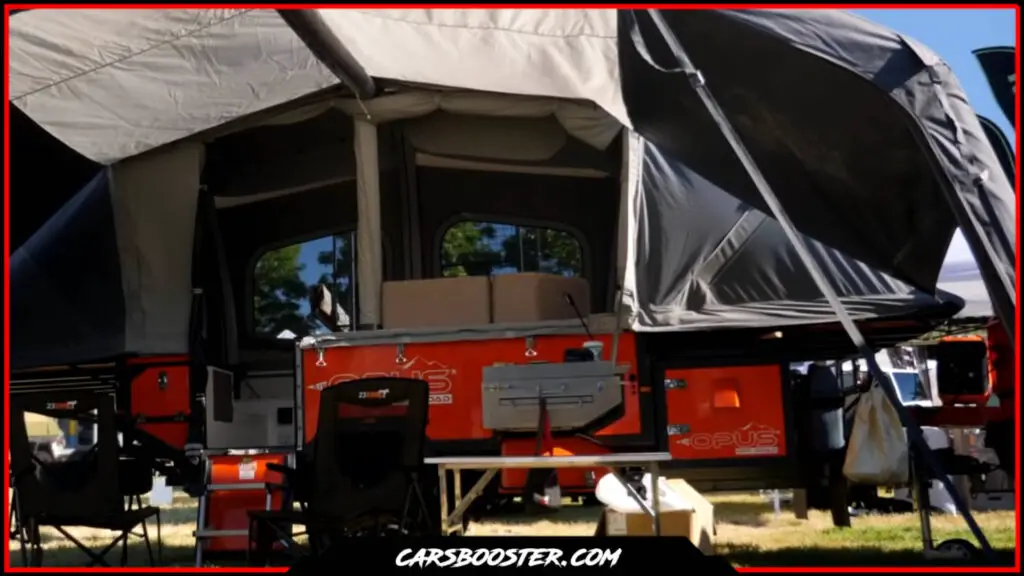
Do you require pop up camper roof repair? Don’t worry, we’ve got you covered with our simple, comprehensive tutorial. We’ll lead you through the process of repairing your camper’s roof, from examining the damage to placing patches.
We’ll present a full, step-by-step guidance in this blog article to assist you get started on your pop up camper roof repair project. So gather your tools and let’s get started!
Why Do Pop Up Campers Roofs Fail?
Because pop-up campers are composed of lightweight materials and are not as strong as standard RVs, they are prone to problems such as roof failures.
The roof of a pop up camper can fail for a variety of causes, including:
Age
The roof of a pop up camper can get worn and damaged over time, especially if it is not properly maintained.
Lack of maintenance
If the roof is not properly maintained, it will deteriorate faster. This might include things like failing to clean the roof on a regular basis, failing to apply a sealant to preserve it, or failing to repair any damage as soon as possible.
Exposure to the elements
A pop-up camper’s roof is exposed to the elements, including rain, snow, and UV rays. As a result, the roof may degrade or get damaged.
Poor quality materials
If the roof is composed of low-quality materials, it is more likely to fail.
Accidental damage
Accidental hits, such as falling branches or debris, can damage the roof of a pop-up camper.
Overall, good pop-up camper care and use can help prevent roof failure. It is important to examine the roof on a regular basis for signs of damage and to repair any damage as soon as possible to prevent future deterioration.
How To Maintain Pop Up Camper Roof?
Okay, so you want to keep that pop-up camper roof in tip-top shape, huh? Well, here are some hilarious (okay, not really) maintenance tips to follow:
- Give your roof a good scrub-down every now and then. Use a gentle soap solution and a soft-bristled brush to remove dirt, debris, and sticky tree sap. And whatever you do, don’t use harsh chemicals or a pressure washer – these can damage that delicate roof.
- Keep an eye on the roof. Give it a thorough inspection at least once a month, looking for cracks, holes, or loose seams. If you spot any damage, fix it ASAP before it gets worse.
- Protect that roof! A sealant or wax can help keep moisture out, so consider applying one of these to the roof.
- Don’t overload the roof with heavy stuff – this includes rooftop carriers and large luggage. The roof isn’t built to support heavy loads, so keep it light.
- When the camper isn’t in use, store it in a covered area or use a camper cover to protect the roof from the elements. This will help extend the life of your roof.
By following these tips, you can help keep that pop-up camper roof in excellent condition and avoid leaks and other issues. Happy camping!
How To Inspect Pop Up Camper Roof?
If you think that your pop up camper roof is leaking it’s a good idea to inspect it and look for the origin of the problem, to inspect a faulty pop up camper roof, follow our 10 steps and be careful not to fall off:
- Find a sturdy ladder and a trusty flashlight (or a construction worker friend with a hard hat).
- Climb up to the roof and do a 360-degree scan for any visible signs of damage.
- Take a closer look at the structure of the roof, including the beams, trusses, and rafters.
- Inspect the roofing material for any cuts, holes, or discoloration.
- Check for water damage, such as stains, mold, or mildew.
- If you spot a leak, trace it back to its source to determine the cause.
- Take a break and have a snack, because inspecting a roof is hard work!
- Double check everything to make sure you haven’t missed any sneaky damage.
- Make a list of any repairs or replacements that need to be made.
- Hire a professional or refer to the manufacturer’s instructions if you’re unsure about how to proceed with repairs.
By thoroughly inspecting the roof, you can identify any issues and take steps to pop up camper roof repair before it becomes a more serious problem.
If you are unsure about how to properly inspect the roof on your camper, it’s best to consult with a professional or refer to the manufacturer’s instructions.
What Tools Do You Need To Fix Pop Up Camper Roof?
After inspecting and checking your pop up camper roof and locating the problem or the damage its time to fix it, but hold on you must have certain tools and things before starting your pop up camper roof repair attempt, such as:
- Always bring a flashlight – it’s not like you can see the damage in the daylight or anything…
- A screwdriver is a must-have, because who wants to use their bare hands to remove screws? Gross.
- Pliers are a great tool to have on hand, especially if you have a habit of dropping tiny screws into unreachable places.
- A utility knife is essential for cutting away any damaged material or trimming excess repair goop.
- Sandpaper is a must for smoothing out rough edges and surfaces. No one wants a rough and bumpy roof.
- Don’t forget the sealant or glue! It’s essential for filling holes and reattaching loose seams.
- If the damage is just too severe for sealant or glue, be sure to bring some patching material – whether it be rubber or fiberglass.
- And last but not least, don’t forget the sealant brush – because who wants sealant all over their hands
In addition to these tools, you may also need specific repair materials, such as a rubber roof repair kit or a fiberglass repair kit, or just a general pop up camper roof repair kit depending on the type of material your pop up camper’s roof is made of.
How To Fix A Leaking Pop Up Camper Roof?
After completing all of the steps outlined in this blog post, you are ready to take action to repair that pesky leak before it causes further damage to your pop up camper roof. Here are specific procedures for repairing a pop up camper roof:
Assess the damage
Okay, let’s get serious about fixing that pop-up camper roof! First things first, we need to scope out the damage.
So, let’s put on our detective hats and inspect that roof for any holes, cracks, or other boo-boos. Make sure to take note of the size and location of each issue, because that information will come in handy later.
While we’re at it, let’s try to figure out what caused the damage. Was it a particularly angry squirrel? A falling tree branch? The wrath of a vengeful campsite ghost? Whatever the case may be, understanding the root cause can help us avoid similar issues in the future.
Now, let’s take a step back and assess the overall condition of the roof. If it’s looking pretty rough and the damage is extensive, we may need to consider replacing the whole thing rather than patching it up.
But if it’s just a small problem or two, then we can probably fix it up with a little elbow grease and the right materials.
So, let’s get to work! With a little bit of detective work and some handy repairs, we can have that pop-up camper roof as good as new in no time.
Clean the area
Once you have identified the damage, you need to rid that roof of any grime, dirt, or debris that’s accumulated over the years (or weeks, let’s be real).
Grab a mild detergent and some H2O, and scrub that area until it’s sparkling clean. Once you’ve finished scrubbing, give it a good rinse to remove any soap residue.
Finally, be sure to let the area dry completely before moving on to the next step. Trust me, you don’t want to try and repair a roof that’s still dripping with water – it’s a recipe for disaster.
Sand the area
It’s time to give your pop up camper roof some much needed TLC, and that starts with a little bit of sanding. Grab your trusty sandpaper (we recommend a grit of 80-100 for this project) and get ready to rough up that roof!
First, locate the affected area on your roof. This is where the damage is, and it’s the spot that needs the most attention. Once you’ve found it, it’s time to get sanding.
Sand the area until it’s rough and slightly dull in appearance. Don’t be afraid to really get in there and give it a good sanding – we want to make sure that the repair material has plenty of rough surface to grip onto.
Don’t forget to sand the edges and corners, too. These areas can be easy to miss, but they’re just as important as the rest of the roof. After all, you don’t want the repair material to only bond to part of the roof – we want it to be a seamless repair.
When you’re finished sanding, take a step back and admire your handiwork. You’ve just given your pop up camper roof the perfect surface for a strong and long-lasting repair. Now all you have to do is apply the repair material and you’ll be back to enjoying your camper in no time. Happy sanding!
Apply a sealant
First things first, gather your supplies. You’ll need a roll of that magical substance known as sealant tape. Think of it like duct tape, but specifically designed for fixing holes in your camper roof.
Now, measure out a piece of sealant tape that’s slightly larger than the size of the hole or crack you’re trying to fix. you don’t want to skimp on the tape and end up with a leaky roof all over again.
Peel off the backing and carefully place the sealant tape over the damaged area. Make sure to press it down firmly to ensure a good bond.
At this point, you might be tempted to just leave it be and call it a day. But trust me, it’s worth the extra effort to take a roller or smooth object and press down on the tape to remove any pesky air bubbles.
If you’re dealing with a particularly large hole or tear, you may need to use multiple pieces of sealant tape to fully seal the area. But with a little bit of elbow grease (and a whole lot of sealant tape), you’ll have that roof sealed up in no time.
Patch the area
It’s time to patch that pesky hole in your roof, and you’ve got a few options at your disposal. First, there’s the tried-and-true fiberglass patch method. This involves cutting a piece of fiberglass that’s slightly larger than the hole and following the manufacturer’s instructions for application.
Alternatively, you could opt for a pop up camper roof repair kit. These handy little kits come with everything you need to patch up your roof in a jiffy.
So how do you actually patch the hole? It’s simple! Just apply the patch material to the roof, smoothing out any wrinkles or bubbles as you go. And then the real fun begins – waiting for the patch to dry.
Don’t worry, it’ll be worth it in the end when you have a fully-repaired roof and a newfound appreciation for patience.
Make sure to follow the manufacturer’s instructions for patching and drying to ensure proper repair. And maybe try to avoid creating any more holes in the first place. Your roof (and wallet) will thank you.
Apply a protective coating
Alright, so you’ve got a hole in your pop up camper roof and you’re ready to patch it up and protect it from the elements. First things first, make sure that patch is totally dry before you do anything else. I mean, have you ever tried to apply a protective coating to a wet patch? It’s not pretty. Trust me.
Now it’s time to choose your weapon of choice: protective coating. There’s acrylic, silicone, and polyurethane to choose from. Just make sure you pick one that’s appropriate for your roof. You don’t want to end up with a sticky mess or a coating that just peels right off.
Once you’ve got your coating all ready to go, it’s time to prep the surface. This might involve cleaning the roof or applying a primer. And don’t forget to follow the manufacturer’s instructions! These people know what they’re talking about.
Now it’s time for the fun part: applying the coating. Just make sure you cover the entire patch and use a special roller if necessary. And then, just sit back and wait for it to dry. I know, it’s not exactly thrilling, but a dry coating is a happy coating. And a happy coating means a happy camper. Well, at least as far as the roof is concerned.
Test the repair
Once you’ve completed your epic pop up camper roof repair mission, it’s time to test that baby out and make sure everything is good to go. And what better way to do that than by using your trusty hand (or a smooth object if you’re feeling fancy) to give that repaired area a little squeeze?
Now, we know what you’re thinking – “But Assistant, won’t I ruin everything I just fixed if I put pressure on it?” Fear not, dear camper enthusiast! The purpose of this test is to see if the repair holds up under pressure, so if it does, you can proceed to use your camper like normal. But if it doesn’t hold up, well… you may want to break out the repair material once again or call in some professional help to make sure everything is secure.
It’s important to note that the steps and materials needed for this repair will depend on the type of material your camper roof is made of and the extent of the damage. And don’t forget – make sure to follow the manufacturer’s instructions for any products you use on your camper roof. Different products may have different application requirements, and we wouldn’t want you to have any mishaps.
So go ahead, give that repair a little squeeze.
Conclusion
To summarize, fixing a pop-up camper roof can be a difficult and time-consuming work, but it is necessary to guarantee the integrity and durability of your camper.
You may properly repair your pop-up camper roof and go back to enjoying your road trips by following the procedures indicated in this article.
If you are confused about any element of the pop up camper roof repair procedure or feel uncomfortable performing the repair yourself, it is always a good idea to seek expert help.
If you also need to waterproof your pop up camper, refer to our article 5 Best Pop Up Camper Waterproofing Tips.
