Planning for a camping trip? A roof rack can provide greater storage capacity along with several configurable options that are worth considering when needing some extra room to store all of your gear.
In this article, we go through the process of choosing and installing a roof rack on your vehicle, also we cover what you need to do before and after the installation process to ensure the safety and reliability of your roof rack.
By the end of this article, readers will acquire the knowledge necessary to confidently and securely attach a roof rack onto their vehicle.
What Are Roof Racks?
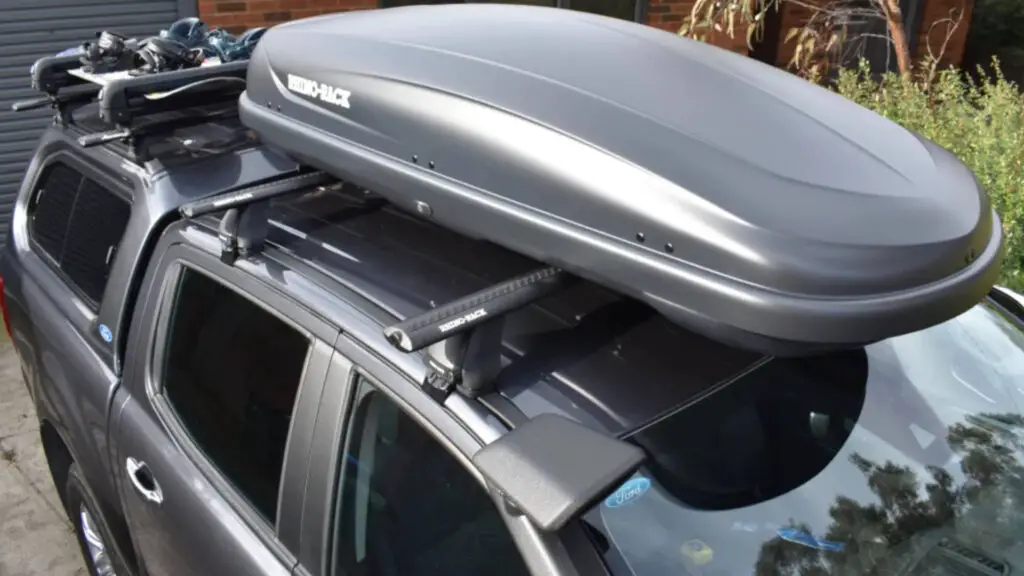
The roof rack is a set of rails attached to the top of your car. It is used to carry big items such as luggage, bicycles, or various carriers and containers.
They allow you to store bigger objects on the roof of the car without reducing the space for passengers down below or being limited by the size of the cargo area as in sedan cars for example.
These include waterproof boxes on top of the car, and some are designed for specific cargo such as skis or luggage.
How To Choose The Correct Roof Rack For Your Car?
It is crucial to select the right roof rack for your vehicle since, once you do, everything else is significantly simpler.
Since the rack will be put on the roof, as we already discussed, you must first determine its weight. Strong is more desirable than heavy.
The best rack is one you can use for multiple purposes and has a wide range of compatible accessories, this is achievable with a simple step, by choosing the correct Roof Rack brand such as Yakima or Thule.
We mentioned weight earlier, while maintaining a decent weight the roof rack should be strong and durable at the same time to withstand harsh environments on the go, and remember there is no quicker way to ruin a camping trip than being worried if your rack gonna last without failing.
What To Do Before Installing A Roof Rack?
You must get your car ready for installation once you have determined which roof rack is ideal for it.
To achieve this, you must ensure that your vehicle is prepared and in good functioning order, as installing a roof rack could impair its performance.
Before fastening the mount, ensure sure the battery is functioning as it should and that you’ve recently used your car.
Studying the manufacturer’s handbook is a smart move when considering roof racks, as it holds vital information on their installation and usage.
Regarding tools, all you might need would be a wrench and a ladder mostly.
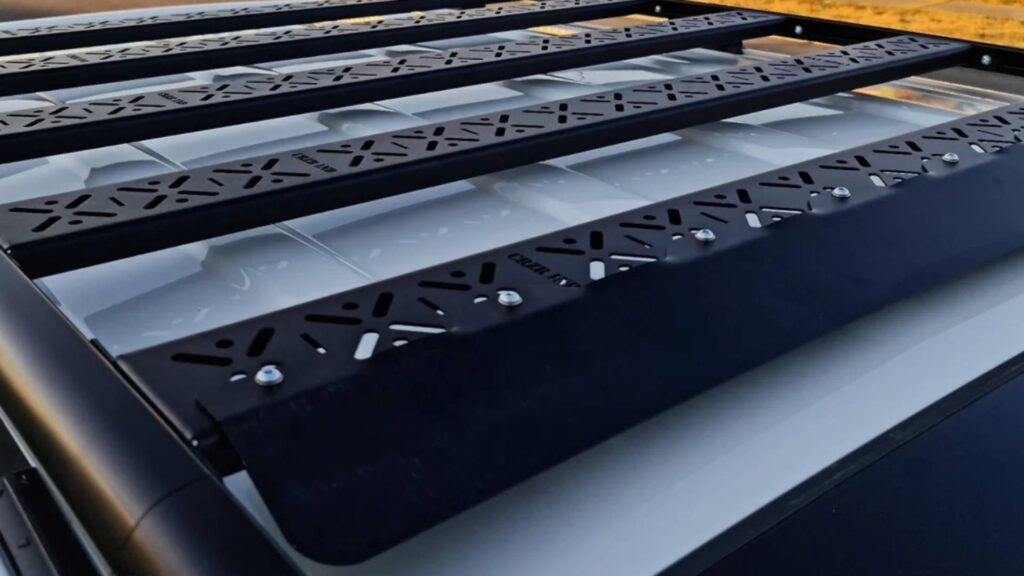
How To Install A Roof Rack?
Firstly, you need to clean the roof of the car, as it tends to be harder to clean the roof after installation, also dirt might prevent the attachment of the rack to sit correctly.
A normal roof rack setup consists of two crossbars and four-foot mounts, which attach to the car’s gutters or side rails, so it’s time to start loosening the screws on the exterior of all foot mounts just enough to spread them open.
Now to mount the roof rack crossbars, separate the foot mount openings wide enough to fit the crossbars and insert the crossbars between the four mounts.
To prevent the roof rack from scratching your roof, and to prevent water from getting inside the crossbars you have to attach pads to mounts and caps to crossbars.
Determine the correct width desired between mounts before completely tightening the adjustments.
Finally, you can place the Rack on top of the crossbars and make sure you correctly positioned the front rack away from the top of the windshield then tighten the rack to the crossbars.
When everything looks great now it’s time to lock the front foot mounts in place using the included metal clips, it hooks onto the underside rim of your car doors and tightens them in place.
Your crossbars and foot mounts are now locked in place and you are ready to hit the road.
During the installation process, ensure that you carefully go through the manufacturer’s safety instructions provided in the product manual to comply with the necessary precautions.
After all is said and done, we hope you have enjoyed reading our little article. If so, please feel free to share our content as it encourages us to create more.
