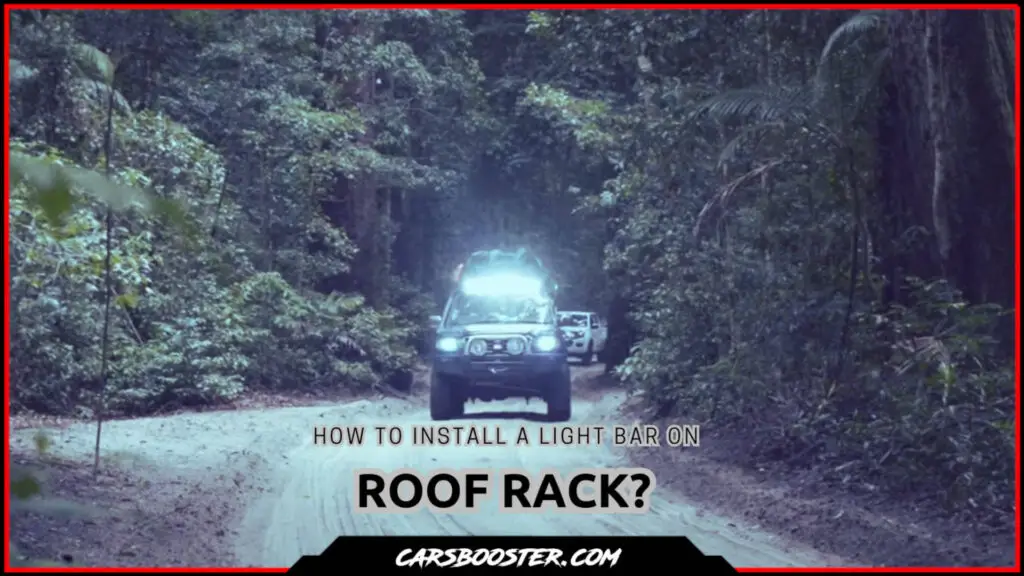
Are you tired of fumbling around in the dark when you hit the trails after sundown? Do you want to boost your off-road game and make sure you stand out from the crowd? Look no further than installing a light bar on your roof rack! Not only will it provide excellent illumination for nighttime excursions, but it can also serve as a stylish accent that sets your vehicle apart from others.
In this comprehensive guide, we’ll walk you through every step of the installation process so that you can quickly and easily add a light bar to your roof rack and start reaping its many benefits!
After following our step-by-step guide you should successfully install a light bar onto a roof rack.
Gather the Necessary Tools and Materials
Before you begin installing your light bar, you will need to gather the necessary tools and materials. Here’s what you’ll need:
- Light Bar
- Mounting brackets
- Wiring harness
- Zip ties
- Drill
- Socket set
- Tape measure
- Wire cutters/strippers
Make sure you have all the tools and materials before starting the installation process.
Choose the Right Spot on the Roof Rack
With all your components ready, it’s now time to carefully select the optimal location for mounting your brand-new light bar to maximize its effectiveness while minimizing any potential hindrance to your field of vision.
Using a tape measure, measure the length of your light bar and find the center of your roof rack. Mark the center of the roof rack with a piece of tape. Then, measure the distance from the center to the edge of the roof rack. Divide that number in half and mark the spot on each side of the center tape. These marks will be where you install the mounting brackets for the light bar.
Install the Mounting Brackets
Once you have set up your drill and inserted the appropriate size screw into the drill bit, locate each of the prearranged holes you made earlier using a piece of masking tape, and begin drilling pilot holes where indicated.
It is essential to adhere to the manufacturer’s guidelines when attaching the mounting hardware for your light bar; therefore, pay close attention to the directions included with your particular model. Ensure that you accurately affix these parts before proceeding.
Using a drill, install the mounting brackets on the spots you marked. Make sure the brackets are securely attached to the roof rack. Once the brackets are installed, you’re ready to attach the light bar.
Attach the Light Bar to the Mounting Brackets
Attach the light bar to the mounting brackets using the bolts provided with the light bar. Make sure the light bar is securely attached to the brackets and doesn’t move around. Once the light bar is attached, it’s time to connect the wiring.
Connect the Wiring to the Light Bar
The wiring harness should come with instructions on how to connect it to the light bar. Follow those instructions carefully to avoid any damage to the light bar or vehicle.
Using wire cutters/strippers, strip the ends of the wires and connect them to the corresponding wires on the light bar. Secure the connections with zip ties to prevent them from coming loose during driving.
Run the Wiring through the Vehicle
After connecting the electrical wiring to the newly mounted light bar, the next step involves running the cable inside the car to the power source.
Take care not to route the wire in such a manner as might result in entanglement with operational mechanisms or become ensnared in existing cables. This would render operation hazardous or potentially damage the system.
Start by running the wiring through the engine compartment and into the vehicle. Then, run the wiring under the dashboard and towards the battery. Be sure to secure the wiring along the way with zip ties to prevent it from coming loose.
Connect the Wiring to the Battery
Connect the wiring to the battery using the instructions provided with the wiring harness. Make sure the connections are secure and won’t come loose during driving.
Test the Light Bar
Now that everything is connected, it’s time to test the light bar. Turn on your vehicle and make sure the light bar turns on. Check that all the connections are secure and the light bar is positioned correctly.
FAQ
Can I install a light bar on a roof rack without drilling holes?
It depends on the type of roof rack you have. Some roof racks come with mounting points that allow you to install a light bar without drilling holes. Check with the manufacturer of your roof rack to see if they offer mounting points.
Do I need to use a wiring harness?
It’s highly recommended to use a separate wiring harness when installing a light bar. The wiring harness can carry heavy amounts of power coming into your bright lights, so you don’t end up damaging other parts of your car or truck.
Can I install a light bar myself?
Yes, you can install a light bar yourself if you have the necessary tools, experience, and materials.
Conclusion
Installing a light bar on your roof rack can be a great addition to your vehicle, especially for off-road adventures.
By following these steps and using the right tools and materials, you can install a light bar on your roof rack with ease. Remember to always follow the instructions that come with your light bar and to double-check your connections before hitting the road.
